A leaking roof may cause a myriad of rapidly developing home interior issues, from ruined floors to water stains and mould on your ceilings. But how do you know if your roof is leaking? How do you narrow down the exact location of the leak and fix the problem?
You can spot a roof leak by looking for signs, such as dripping water, water stains, damaged shingles, rust on the roof, etc. If this doesn’t work, you may need to examine the attic or hose down the roof to pinpoint the leak. After spotting it, you can fix it by repairing the roof vents and replacing the shingles and rotten roof decking.
So, if you’re hearing sounds of dripping water in your house or smelling musty smells, it’s time to put your detective cap on and get to work! I’ve covered everything you need to know about spotting a roof leak and repairing them in this article.
How to Find Roof Leaks? {6 Quick Ways}
Locating the source of the leak in your roof can be a nightmare. It’s a difficult task, and you need a sharp eye to find the problem successfully. Just remember to be quick on your feet and stop the leak as soon as possible to prevent dangerous molds and mildew from developing!
Additionally, you need to be aware of some basic knowledge and a few tips to know how to find a roof leak quickly. After all, the eyes can’t see what the mind doesn’t know!
So, read through my guide on locating a roof leak to know exactly what to look for to make the annoying dripping sound of water in your house disappear.
1. Look for the Tell-Tale Signs
Firstly, you must look for the following tell-tale signs of a leaking roof and start there.
- Water-damaged exterior siding
- Sections bulging out on an interior wall
- Sounds of dripping water
- Water stains on ceilings and walls
- Missing, damaged, or warped shingles
- Rust on a metal roof
After finding any of these signs, you can now easily find the root problem of the leak.
2. Eliminate Interior Water Leaks
Simply locating a water-damaged section in your house isn’t enough. The damage could occur due to faulty piping, leaking water heaters, and defective HVAC units. Be mindful of water stains near bathrooms, sinks, and laundry rooms.
After confirming that none of the above things is leaking and causing damage, you can continue examining for a leak in your roof.
3. Examine the Attic
Investigating your attic is essential for detecting a roof leak. However, be extra careful to ensure you don’t fall through a weak ceiling and hurt yourself.
Look for signs of damage caused by water in your attic, like stains, molds, and musty smells. You can even bring a flashlight to make looking at all the nooks and crooks easier.
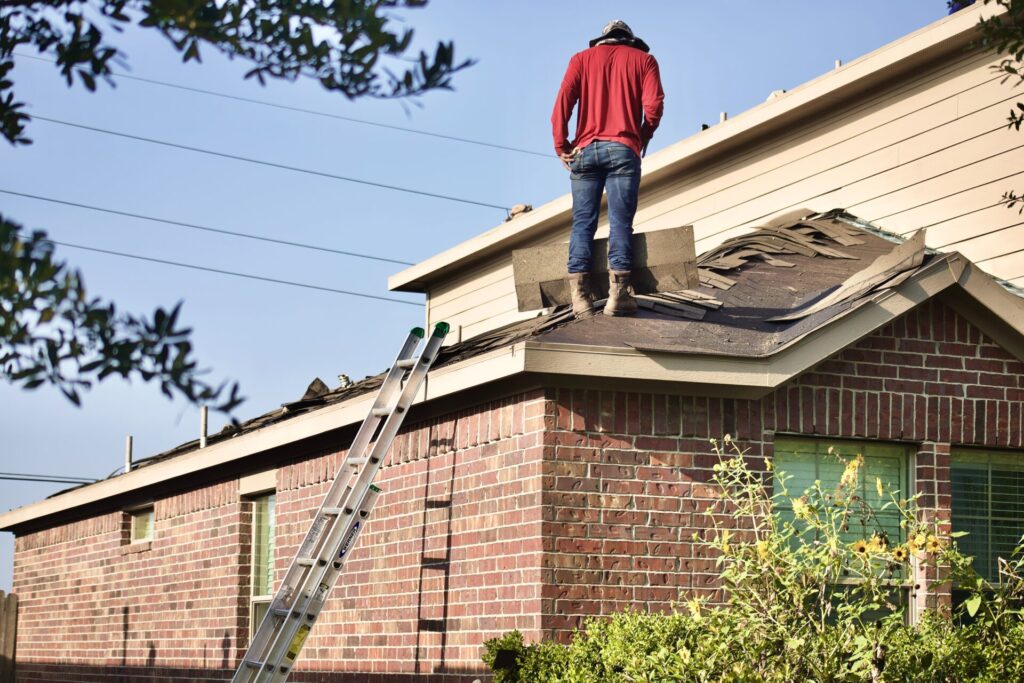
4. Inspect the Roof
You can’t find a roof leak without actually going to the roof! So, grab a ladder and climb onto your roof.
Inspect the vents, chimneys, seams, and skylights and look for water collection, stains, or moulds.
Additionally, you should look for missing nails, damaged shingles, and cracks. I also recommend examining areas where debris like leaves collect as they can trap moisture and wet the roof.
5. Add More Water
If you still haven’t found the source of the leak, then it might be time to add even more water to the mix!
Ask a family member or friend to stand where you first found the signs of the roof leaking. Now, take a hose and slowly spray your roof in small sections. Make sure to hose down each section for at least a few minutes to find the leak’s location accurately!
As you spray each section with water, ask your helper to shout as soon as water begins dripping inside the house!
6. Remove the Shingles
If nothing has worked so far, you may need to dig even deeper! Put your gloves on, remove the shingles in the area of the leak, and begin inspecting the sheathing. This should help you to find the leak in your roof successfully.
How to Repair Roof Leaks?
After diagnosing the problem, the next is to fix it. You can DIY the process and do it yourself. However, it is a difficult task, so be prepared to put in some serious elbow grease.
You should wait for the weather to be dry and warm before beginning your roof repairs. Wet, icy, or snow roofs are a serious health hazard, and you should avoid climbing onto the roof in such conditions.
Additionally, before grabbing your tool bag and getting to work, review the regulations for protecting roofing workers and follow them to perform the task safely.
So, once you’re up to date with the safety regulations and the weather is dry, grab your ladder and get to work.
I’ve mentioned a detailed guide on repairing roof leaks below.
Tools
Here are the tools that you’ll need for DIY-ing your roof repairs.
Materials
Apart from the tools mentioned above, you will also need to grab the following items to begin working on your roof.
- Roofing nails
- Three-tab composite shingles
- Roof vent (for replacing old damaged vents)
- 7/16-inch exterior-grade plywood and synthetic underlayment (for replacing a rotten roof deck)
Step-By-Step Guide on Repairing Your Roof
Once you have all the tools and materials for your project, follow the steps below to restore your roof to prime condition and fix its leaks.
1. Repairing Roof Vents
Roof vents are the most common cause of roof leaks. These vents include turbines, attic fans, stack pipes, plumbing soil, and any part of the roof with metal flashing.
So, if your roof vents have become dislodged and damaged, they may be the culprit behind your leaks. You can fix it by climbing the roof and following the steps below.
Step 1: Remove the damaged vent.
Use a pry bar for pulling out the nails that hold the shingles and vent together. Use the same bar for pulling back the shingles that cover the vent’s base.
Only remove the nails holding the vent in its place, and do not remove the shingles. This will dislodge the vent, and you can take it out.
Step 2: Now, you must replace the vent with a new one.
Step 3: You must cover the bottom surface of the new vent’s flashing with generous amounts of roofing cement. Then, you’ll need to call a helper to separate the shingles, allowing you to slide the vent in. Once the vent is in, nail it down and cover the nails with cement.
Tip: Make sure that the vent flashing’s lower section rides over the shingles, as this will prevent leaks in the future.
2. Repairing Roofing Shingles
Some people may use silicone caulk to repair their asphalt or architectural shingles. However, this isn’t enough most of the time.
You’ll probably have to remove the damaged row of shingles and replace it with a new one, using caulk and roofing nails to secure it.
I’ve broken down the whole process for you below.
Step 1: Use your pry bar for breaking the seal that holds the defective shingles and the surrounding ones together. This includes removing any old caulk and the roofing nails that hold the shingles onto the substrate.
Step 2: Remove all the nails from the decking.
Step 3: Remove the shingles now that you’ve successfully freed them from their fastening points.
Step 4: Examine your roof decking and underlayment, looking for water damage. If you see it rotting, you’ll need to replace all of it before replacing the shingles.
Step 5: If the roofing deck is in good condition, simply continue placing your new shingles. Place them directly in line with the existing shingle rows. The new shingles’ top should be fully tucked under the old ones above.
Step 6: Use roofing nails to secure the shingles.
Step 7: Lastly, use caulk to seal unsealed lines above and below the new shingles. This forms a watertight seal to prevent water from leaking through your roof again!
Should You Repair Your Roof Leaks Yourself?
Stopping roof leaks is a labor-intensive job requiring advanced and technical skills. All the interwoven components of the roof must coordinate precisely to stop and prevent leaks, which involves a lot of hauling and climbing. It’s also risky, and there is a high chance of hurting yourself in the process.
Additionally, you need to be extremely careful and vigilant to ensure you don’t make the damage worse instead of fixing it!
So, my recommendation is to call in professionals like Roof Paramedics! They offer roof repair services in Adelaide and are the best at their job. Apart from having a highly competent professional team that can fix even the biggest leaks, they have straightforward pricing and 100 % customer satisfaction!
So, whether there’s a small leak in your roof or the whole of it needs to be replaced, call Roof Paramedics, and they’ll be there to take care of all your roofing troubles.
Wrapping Up
If you’re also seeing water stains inside your house or using buckets to gather dripping water from the roof, it’s time to grab your tools and fix the problem or call in professionals!
Remember that the more you delay repairing your roof, the worse the situation gets, and you may even end up with mold.
So, begin examining your house today and call the pros if you’re struggling to get the job done yourself!